 Lauper Labs
PeekLUT
Color grading for iPhone and iPad

To color grade photos and video on iPhone, begin with the correct input color space, balance exposure and white balance, establish contrast, then shape the palette. Add selective adjustments and film texture as needed, and check the exported result. This guide walks through those decisions using PeekLUT.
We are Lauper Labs, the team behind PeekLUT. The examples and controls below describe our app. Use the workflow to develop a repeatable grade across photos and clips, with a clear distinction between exporting finished media and exporting a reusable LUT.
What makes a good iPhone color grading app?
A serious mobile color app should cover five parts of the workflow:
- Correction: exposure, white balance, contrast, highlight and shadow recovery.
- Creative color: curves, color wheels or channel controls that let you shape the image beyond basic saturation.
- LUT support: the ability to import and adjust your own .cube LUTs instead of relying only on built-in looks.
- Selective adjustments: masks that keep an effect on the sky, subject, foreground, or another part of the frame.
- Consistent output: controls for photo and video export, plus a way to reuse the look on future work.
Before starting a grade, decide which of these steps your image needs and how you will deliver the result.
The color-grading tools used in this guide
PeekLUT is designed as a color lab for iPhone. It edits photos and videos in the same app and keeps the workflow centered on the image rather than a timeline full of unrelated editing tools.
Its main advantage is depth. You can begin with temperature, tint, exposure, contrast, highlights, shadows, blacks, and whites, then move into tone curves, three-way color grading, per-channel saturation, color mixing, density, clarity, sharpness, dehaze, and fade.
For a more analog result, PeekLUT includes grain, halation, bloom, textures, and film-oriented looks. These are adjustable parts of the grade, not just a single baked preset.
Color tools beyond the basics
PeekLUT's current editor goes further than a short list of generic sliders:
- Log and color-space transforms: identify Apple Log, ARRI LogC, Sony S-Log3, Fuji F-Log, or RED Log3G10 footage, work in Rec.709 or DaVinci Wide Gamut, and choose an appropriate output transform.
- Photographic tone shaping: build contrast with a film-style S-curve, shadow toe, highlight shoulder, film density, and film saturation with soft log compression.
- Targeted color control: grade shadows, midtones, highlights, and global color independently; use RGB curves or six HSL curve modes; adjust individual red, green, blue, cyan, magenta, and yellow ranges.
- Color mixing: use HSV shifts, 12-axis Tetra mixing, six-color luminance, and a three-strip Technicolor-inspired look.
- Film finishing: combine adjustable grain, halation, bloom, optical diffusion, bleach bypass, split-tone processes, and film print emulation.
That range matters because a good grade is usually a sequence of small decisions. Color management makes the source usable, correction establishes a solid base, creative controls shape the palette, and finishing tools give the result texture and character.
Import, editing, and export options
- Edits both photos and video
- Imports .cube LUTs from Files and HaldCLUT images
- Imports full LUT folders and supports LUT stacking
- Uses linear and radial masks for local adjustments
- Includes film grain, halation, bloom, and texture controls
- Supports before-and-after comparison and edit history
- Exports video up to 4K, including HEVC, H.264, and ProRes options
- Exports images as HEIC, JPEG, PNG, or TIFF
- Exports supported color adjustments as a reusable .cube LUT
If you create a look on your iPhone and later want to use it in Adobe Premiere Pro, you can export the supported color transform as a .cube file. A standard 3D LUT cannot carry masks, grain, halation, bloom, or other effects that depend on image position or neighboring pixels. Export the finished photo or video when you need those effects included.
A practical iPhone color-grading workflow
The order of operations matters more than adding lots of effects. A reliable grade usually follows this sequence.
Before adjusting exposure, identify the source color space. Log footage needs the matching input transform; a normal Rec.709 clip needs a different starting point. Avoid applying the same Log-to-Rec.709 conversion twice through both a color-space transform and a technical LUT. Check the input requirements of any LUT you plan to use.
1. Correct exposure and white balance
Start by making the image neutral enough to work with. Adjust exposure first, then temperature and tint. Watch important highlights so they do not clip, and avoid lifting shadows so far that the image loses its black point.
2. Establish contrast
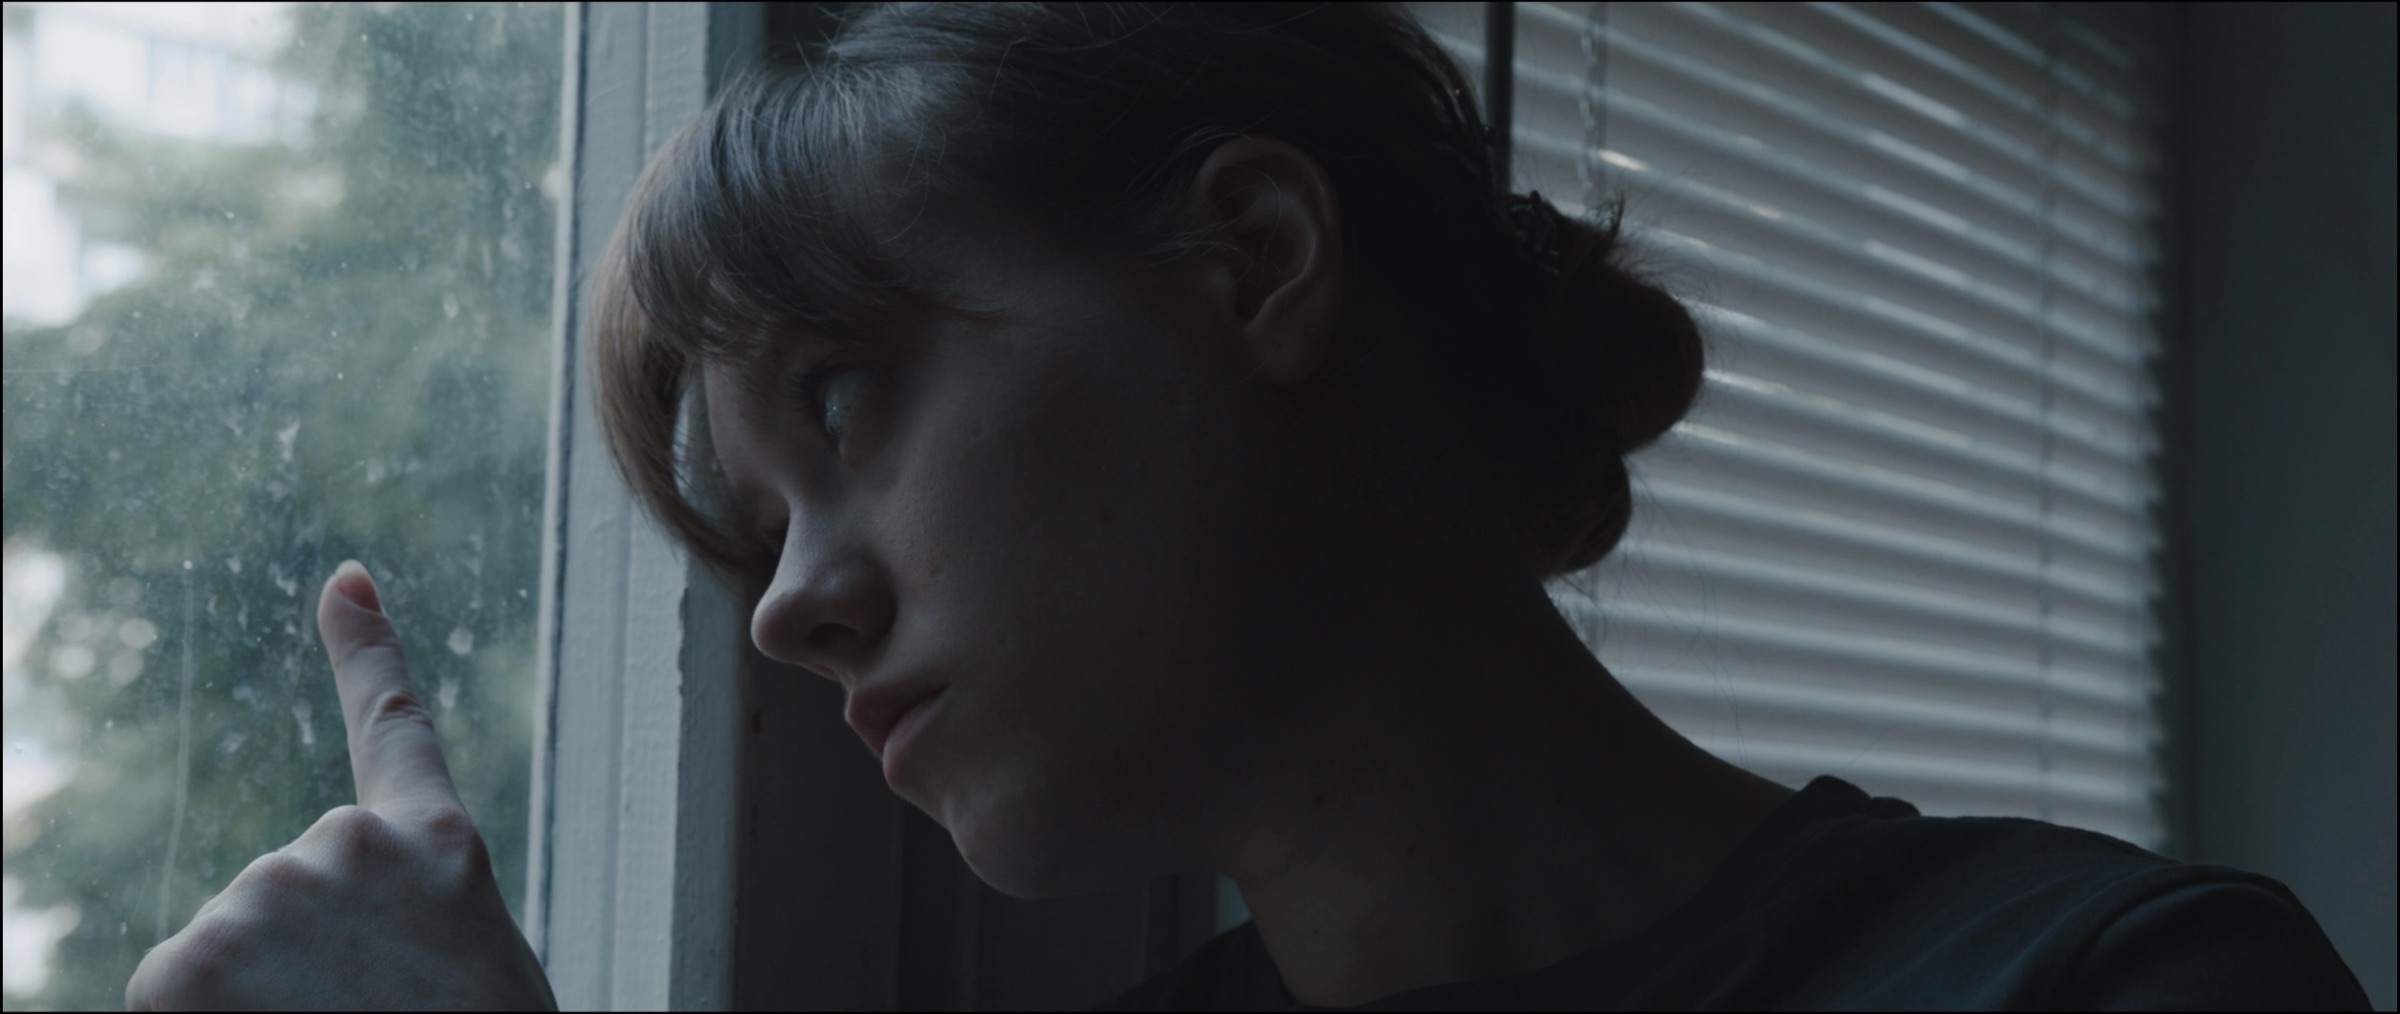
Set the relationship between blacks, shadows, midtones, highlights, and whites. Contrast is not just a single slider: a softer highlight roll-off and a firm black point can feel very different from globally increasing contrast.
3. Shape the color palette
Use color grading controls and curves to decide whether the image should feel warm, cool, clean, muted, or dense. Make small moves. Skin, neutral objects, and bright saturated colors will reveal an overworked grade quickly.
4. Apply or build a LUT
A LUT can be a useful starting point, but its intensity should be adjustable. If you stack LUTs, give each one a clear job—for example, one technical conversion followed by one creative look—instead of piling on several competing styles.
5. Isolate changes with masks
Global changes affect everything. Use a mask when the sky needs more density but the subject does not, or when the foreground needs contrast without darkening the rest of the frame. Feather the mask so the adjustment blends naturally.
6. Add texture last
Grain, halation, bloom, and sharpening depend on the contrast and brightness already present in the image. Add them near the end, check the result at full size, and keep the effect subtle enough that it supports the picture.
7. Check the before and after, then export
Compare the finished grade with the source. The goal is not always a more dramatic image. It is a more intentional image. If the effect is the first thing you notice, reduce it and compare again.
For video, play the whole clip and check skin tones and highlights as the camera or subject moves. Export a short sample in your intended format and review it in the destination app before processing a larger batch. Check that the color, framing, and texture still match your intent.
Photo color grading vs. video color grading on iPhone
The creative principles are the same, but video adds consistency and delivery concerns.
With a photo, you are judging one frame. With video, play the whole clip and look for changes in exposure, white balance, noise, and skin tone. An aggressive adjustment that works on the opening frame may break when the camera moves or the light changes.
Video also requires the right codec, resolution, and bitrate for where the file is going next. A quick social export and a high-quality master have different needs. For longer projects, make a reusable preset or LUT once you have approved the look rather than rebuilding it shot by shot.
Should you use presets or grade manually?
Use both, but know what each is doing.
A preset is fast and can provide a coherent starting point. Manual controls are what make that starting point fit your actual footage. After applying a preset, revisit exposure, white balance, contrast, saturation, and skin tones. The best preset is rarely the one that looks finished at 100 percent strength on every image.
If you regularly shoot under similar conditions, save your adjusted look as a new preset. That gives you speed without giving up control.
Can an iPhone app replace desktop color software?
For a large number of creator workflows, an iPhone can now handle the entire grade: import, correct, create a look, mask, compare, and export. It is especially effective for photos, short-form video, travel work, on-set previews, and look development away from a desk.
A desktop system remains a better fit for long timelines, complex shot matching, collaborative finishing, and projects that depend on calibrated monitoring. The useful question is not whether mobile replaces desktop completely. It is whether the iPhone app preserves your options. LUT export makes the two workflows complementary: develop a look on mobile, then reuse it in a larger edit.
How to choose the right app for you
Choose based on the job you do most often:
- Quick social edits: prioritize speed, templates, text, and direct publishing.
- Photography: prioritize high-quality still formats, curves, selective adjustments, and metadata handling.
- Video color work: prioritize real-time preview, codec and resolution choices, LUTs, scopes or precise color controls, and consistent exports.
- Film-emulation looks: prioritize adjustable grain, halation, bloom, density, and color response rather than a single filter.
- Cross-device workflows: prioritize .cube LUT import and export so the look is portable.
If your priorities are detailed color, film texture, and a workflow that moves between iPhone and desktop, try PeekLUT for iPhone.
Frequently asked questions
How do I start color grading video on iPhone?
Identify the clip's input color space, correct exposure and white balance, then establish contrast and color. Apply a compatible LUT if useful, make selective adjustments, and add texture. Check the complete clip and a sample export before reusing the grade on other footage.
Can I import my own LUTs on iPhone?
Yes. PeekLUT can import .cube LUT files and HaldCLUT images, including full LUT folders. You can control LUT intensity and combine multiple LUTs in a single look.
Can I export a LUT from an iPhone?
Yes. PeekLUT can convert supported adjustments into a .cube LUT. That file can then be used in compatible desktop software such as Adobe Premiere Pro.
Is PeekLUT only for video?
No. PeekLUT grades both photos and videos, so you can develop a consistent color style across still and motion work in one app.
PeekLUT
Color grading for iPhone and iPad